
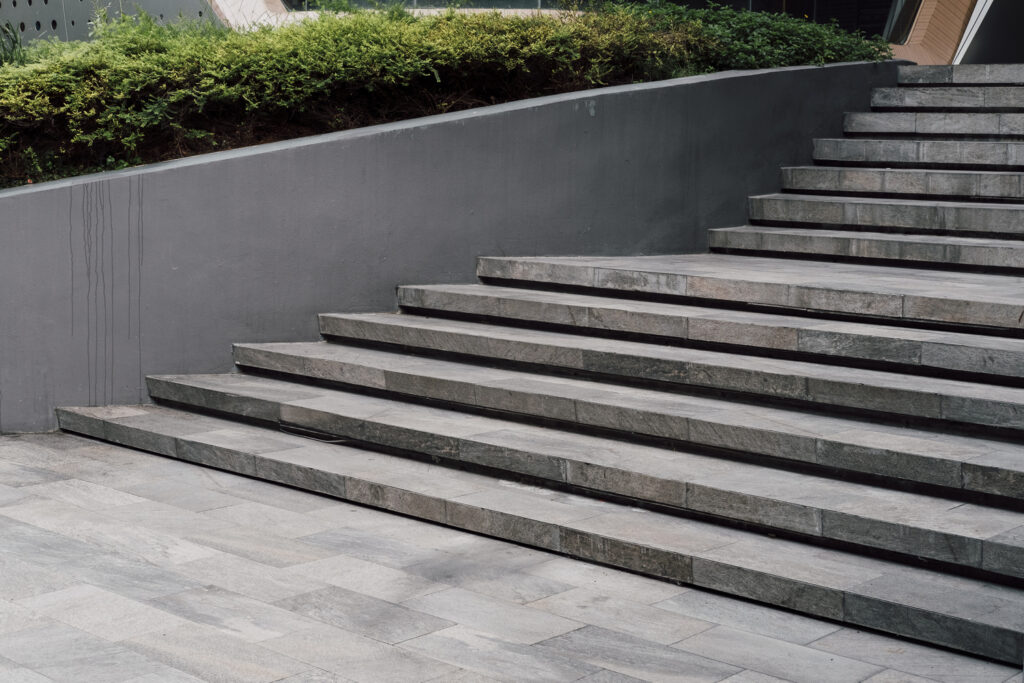
Concrete stairs are built to last, but even the toughest surfaces eventually show signs of aging. Cracking, chipping, and corner breakage can appear after years of exposure to moisture, freezing temperatures, or heavy use. These flaws not only diminish your home’s curb appeal but can also become safety hazards if left unattended. Fortunately, concrete stairs repair is an achievable project for most homeowners with the right tools, materials, and preparation. This in-depth guide will walk you through each stage of the process, offering expert insights, technical explanations, and maintenance advice to ensure long-lasting, professional results.
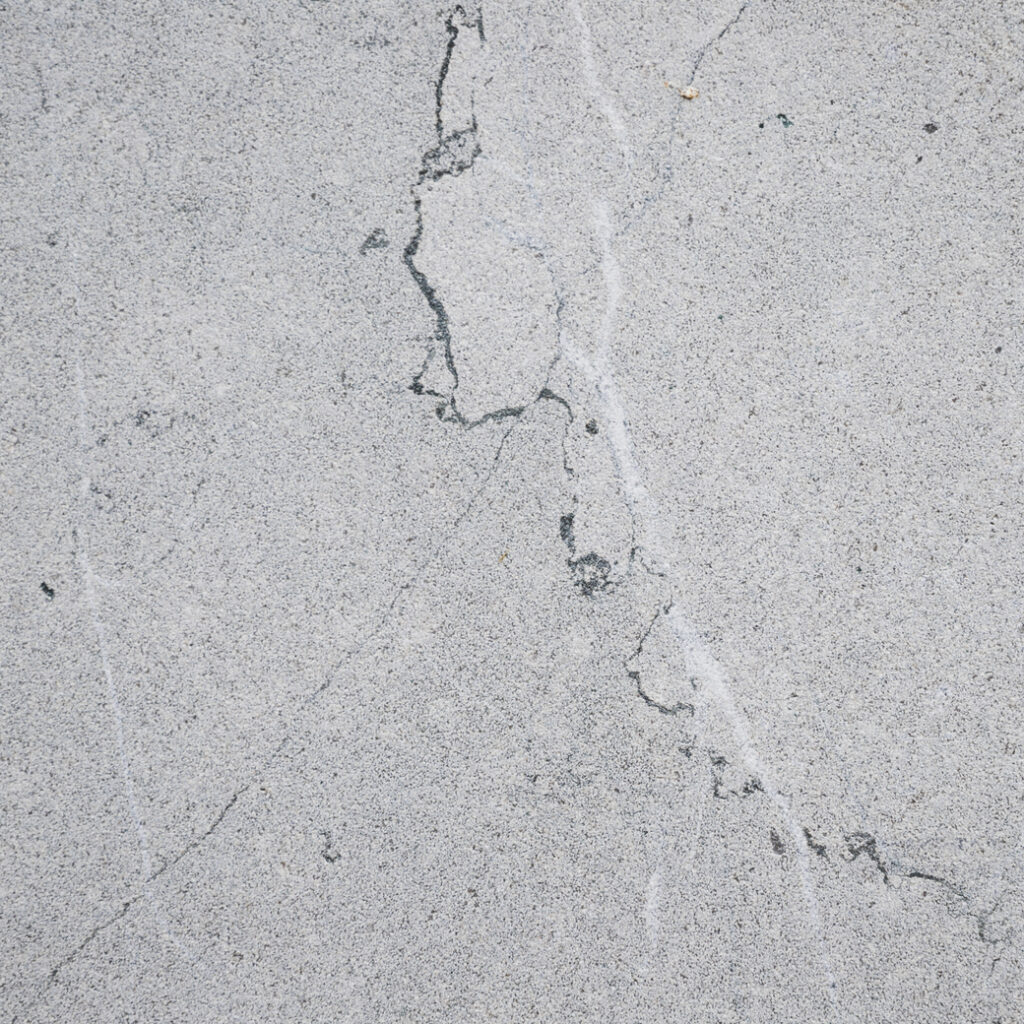
Table of Contents
- Signs your concrete steps need repair
- Safety and preparation before any concrete stairs repair
- Tools and materials for concrete step repair
- How to repair minor chips and shallow cracks
- How to repair broken corners and step edges
- How to repair major damage and crumbling steps
- Special situations: reattaching steps separating from the house
- Curing, sealing, and protecting your repaired concrete stairs
- Preventive maintenance to extend the life of concrete steps
- Costs, timelines, and choosing the right repair product
Signs your concrete steps need repair
Cosmetic vs. structural damage: how to tell the difference
Superficial issues such as shallow chips or small surface cracks can typically be fixed using a quick-setting cement mix. These imperfections are often caused by normal wear and weather conditions rather than serious foundation issues. However, when cracks extend through the full depth of the step or spread across several stairs, they might suggest structural movement underneath. In these cases, it’s best to consult a structural engineer before attempting a DIY fix. You can also learn more about what concrete is and how its properties affect durability under stress and temperature changes.
Common causes: freeze–thaw cycles, impact, salt, and poor installation
Most damage to concrete stairs results from repeated freeze–thaw cycles that cause expansion and contraction within the material. Heavy impacts from dropped objects or frequent foot traffic can also weaken the structure over time. Chemical reactions from salt and de-icing products accelerate deterioration by corroding the surface layer. In addition, poor installation practices — such as improper water-to-cement ratios or lack of control joints — often lead to premature cracking. Identifying the exact cause of the damage will help you select the most appropriate repair method and materials for lasting results.
Safety and preparation before any concrete stairs repair
Personal protective equipment and work area setup
Concrete repair involves dust, chemicals, and sharp tools, so safety is non-negotiable. Always wear heavy-duty gloves, protective goggles, and a respirator mask when mixing or applying cement-based materials. Make sure your work area is well-ventilated and free from clutter. If you’re working outdoors, protect surrounding surfaces with drop cloths or plastic sheets to prevent cement splatter. Finally, set up clear barriers to keep pets and children away from the repair zone until the steps are completely cured.
Surface cleaning: removing loose debris, dust, oil, and grease
Proper surface preparation is the foundation of a successful repair. Start by using a stiff-bristle brush or a wire brush to remove loose dirt, dust, or deteriorated concrete. For heavily contaminated areas, a power washer can help eliminate stubborn residues. Always allow the surface to dry completely before applying any bonding adhesive. Clean surfaces not only ensure stronger adhesion but also extend the life of the repair by preventing delamination or moisture infiltration in the future.
Tools and materials for concrete step repair
Bonding agents, fast-setting mixes, and resin vs. cement mortars
For small chips and cracks, a quick-setting cement mix is usually sufficient and easy to work with. For larger or deeper repairs, a resin-based or epoxy mortar offers superior bonding strength and faster curing times. Each product type has its own ideal use: cement mixes are cost-effective and more natural in appearance, while resin mortars excel in extreme conditions and heavy-traffic areas. Always read the manufacturer’s data sheet for mixing ratios, curing times, and temperature guidelines. Using the correct product ensures not only aesthetic results but also long-term durability.
Forms, trowels, edgers, levels, and finishing tools
A successful concrete repair requires precision tools. A clean bucket and mixing hoe are essential for achieving a uniform mixture. Use a steel trowel to press and smooth the patch, and a margin trowel to work detailed edges. A concrete edger will help you replicate rounded corners found in most stair designs. If you need to rebuild corners, create a simple wooden form, coat it with release oil, and secure it tightly before pouring your mix.
How to repair minor chips and shallow cracks
Applying bonding adhesive for stronger adhesion
Once the surface is clean and dry, use a brush to apply bonding adhesive to the damaged area. Let it sit until it becomes tacky before adding the new cement. This adhesive ensures that the patch and the original concrete become one solid structure instead of two separate layers. Skipping this step often results in poor adhesion and early cracking. For best results, use a high-quality bonding agent compatible with your chosen repair mortar.
Filling with quick-setting repair mortar and blending the texture
Mix your fast-setting cement according to instructions and apply it firmly with a margin trowel. Overfill the area slightly so you can smooth it level later. Use the edge of your trowel to feather the edges for a natural look. Once the patch is thumbprint-dry, lightly dab the surface with a damp sponge to match the surrounding texture. Proper blending makes the repair nearly invisible and prevents moisture from entering the bond line.
How to repair broken corners and step edges
Building and releasing an L-shaped form
Broken corners require additional support during repair. Cut two boards to form an L-shaped mold and apply a release agent such as oil or plastic film to prevent the new cement from sticking. Secure the form flush with the step using clamps, duct tape, or small concrete blocks for stability. The form will ensure that your corner maintains the correct shape and alignment. Once in place, it also helps you achieve a cleaner, more professional finish.
Placing, compacting, and finishing the corner patch
Apply a layer of bonding adhesive and then fill the mold with the cement mixture, pressing it firmly to eliminate air bubbles. Overfill slightly and use a steel trowel to smooth the top and sides. After 20–40 minutes, when the material begins to set, carefully remove the mold and check the alignment. Smooth any rough edges with your trowel or a damp sponge. The result should be a solid, uniform corner indistinguishable from the rest of the step.
How to repair major damage and crumbling steps
When to add mechanical keys: screws, dowels, or rebar
For extensive damage or missing sections, reinforcement is crucial. Drill small holes into the stable concrete and insert screws or short pieces of rebar to serve as anchors for the new material. These reinforcements help distribute weight and prevent future cracking. Clean away any drilling dust before proceeding. Once secured, apply a bonding adhesive to the old surface so the new cement adheres strongly to the anchor points.
Forming, placing, levelling, and reconciling old vs. new concrete
Place your wooden form around the damaged section and mix a high-strength repair mortar to a workable consistency. Use your trowel to press the mix firmly into the area, making sure to fill all voids. Smooth the surface using a level to match the height and slope of adjacent steps. After removing the form, inspect the join lines and add extra material if necessary. You can also check asphalt repair techniques if you’re managing multiple surfaces around your property for consistency.
Special situations: reattaching steps separating from the house
Minor gaps: caulk, hydraulic cement, and sealants
When steps pull slightly away from the foundation, start by cleaning the gap thoroughly. Apply a layer of bonding adhesive to both surfaces and fill the space with hydraulic cement or flexible concrete caulk. This prevents moisture infiltration, which could worsen the separation. Smooth the filled joint and apply an exterior-grade sealant once cured. Such preventive repairs extend the life of your stairs and maintain overall stability.
Significant movement: lifting, anchoring, and when to rebuild
If the gap exceeds an inch or the stairs have visibly shifted, professional intervention may be required. A contractor might lift the steps with jacks, realign them, and secure them with metal anchors or rebar. After stabilization, voids are filled with cement to restore structural integrity. Ignoring this type of problem could lead to further cracking or complete collapse. Always act promptly when significant separation is detected.
Curing, sealing, and protecting your repaired concrete stairs
Mist curing and timing for foot traffic
Proper curing is as important as the repair itself. Keep the surface slightly damp for the first 24–48 hours using a spray bottle or misting nozzle. Avoid walking on the repaired area until it has set according to the product’s curing schedule. Premature traffic can weaken the bond and cause surface marks. Once cured, gently clean the steps to remove any cement residue and prepare them for sealing.
When and how to apply a concrete sealer
After about 30 days, the concrete will be fully cured and ready for sealing. Choose a high-quality sealer designed for outdoor use and apply it on a clean, dry surface in temperatures above 50°F. A sealer protects against moisture, salt, and staining while improving overall appearance. Reapply every few years to maintain its effectiveness. Consistent sealing can double the lifespan of your stairs and reduce the need for major repairs in the future.
Preventive maintenance to extend the life of concrete steps
Annual inspections and prompt touch-ups
Regular inspections help catch small problems before they escalate. Examine your steps each spring for new chips, cracks, or discoloration. Addressing these issues early prevents deeper damage and saves money in the long run. Keep your stairs clean by sweeping off dirt and debris regularly. Even minor maintenance tasks can dramatically improve durability and safety.
Winter care: sand vs. salt for traction
During icy weather, avoid using salt-based de-icers as they corrode concrete over time. Instead, choose sand or non-corrosive alternatives that provide traction without causing chemical damage. Rinse your stairs after winter to remove any remaining residue. In regions with harsh climates, reseal the concrete annually to combat freeze–thaw stress. These preventive habits will help preserve your stairs’ strength and finish for many years.
Costs, timelines, and choosing the right repair product
DIY vs. pro repair: time, difficulty, and budget
DIY concrete repairs are among the most affordable home improvement projects. Basic materials usually cost under $20, while hiring a contractor may range from $250 to $700 depending on the damage. Time investment varies: small fixes take an hour or two, while major rebuilds can stretch over a weekend. The key is patience — rushing through preparation or curing will compromise the results. Proper planning ensures a smooth, lasting finish without unnecessary expenses.
Fast-setting cement vs. epoxy/resin mortars: pros and cons
Fast-setting cement is ideal for quick fixes and shallow repairs, offering a natural look that blends with existing surfaces. Epoxy or resin mortars, on the other hand, deliver higher compressive strength and excellent resistance to freeze–thaw cycles. They’re perfect for corners and edges exposed to heavy traffic. However, resin-based products are typically more expensive and require precise mixing. Choosing the right formula depends on climate conditions, depth of damage, and the desired curing speed.
Can concrete stairs be repaired?
Yes. Most concrete stairs can be repaired successfully with the right preparation and materials. Small chips and cracks are easy to patch using bonding adhesive and fast-setting mortar. Structural damage may require reinforcement or partial rebuilding. The key to lasting results lies in surface preparation, product selection, and careful curing.
How much does it cost to rebuild concrete stairs?
Rebuilding concrete stairs is significantly more expensive than simple repairs. Costs typically range from $1,000 to $5,000, depending on size, labor rates, and design complexity. For homeowners on a budget, repairing instead of rebuilding is often the better choice. Routine maintenance and sealing can also help delay the need for full replacement. Always get a detailed quote before starting any major project to avoid hidden costs.
What is the best product to repair concrete steps?
The best product depends on the type and depth of damage. For shallow chips, use a quick-setting cement patch. For corners or deeper repairs, epoxy and resin-based mortars provide superior strength and durability. Consider the climate in your area — some products are designed for cold weather or quick curing. Always follow manufacturer instructions for mixing and application to ensure a long-lasting bond.
Can I put new concrete on top of old concrete?
Yes, as long as the old surface is structurally sound and thoroughly cleaned. Use a bonding adhesive to create a secure connection between the old and new layers. Without proper bonding, the new concrete will likely crack or delaminate over time. For best results, slightly roughen the old surface to improve mechanical grip. You can explore more about concrete applications to ensure your repair integrates perfectly with the existing structure.
Get in touch with us
If you’re ready to restore your steps or need professional guidance, our experts are here to help. Contact our team today for personalized advice, a free estimate, or to schedule a concrete or asphalt service. Visit our contact page to get started and bring safety and durability back to your home’s entrance.