
TL;DR:
- Proper site preparation is crucial for on-schedule construction, as inadequate ground work can cause structural failures and delays.
- It involves geotechnical testing, surveying, permitting, clearing, excavation, compaction, utility installation, and final grading verification as essential steps.
Effective site preparation for construction is the difference between a project that finishes on schedule and one that unravels at the foundation. Literally. Poor ground preparation accounts for a significant share of structural failures, permitting delays, and budget overruns that plague commercial and residential builds alike. In Edmonton’s climate, where freeze-thaw cycles can destabilize inadequately prepared subgrades overnight, the stakes are especially high. This guide walks through every critical phase, from geotechnical assessment and construction site clearing to soil compaction methods and final grading verification, giving project managers and contractors a technically grounded reference they can act on.
Table of Contents
- Site preparation for construction: evaluation and permitting
- Construction site clearing best practices
- Excavation, earthmoving, and land grading services
- Soil compaction methods and quality control
- Utility installation and erosion control
- My perspective on what actually goes wrong on site
- Work with Edmonton’s site preparation specialists
- FAQ
Site preparation for construction: evaluation and permitting
No physical work should begin before you have a complete picture of what you are building on and what regulations govern how you build. This phase sets the scope for everything downstream.
Geotechnical investigation is the starting point. A licensed geotechnical engineer conducts soil borings and lab analysis to determine bearing capacity, soil classification, groundwater depth, and consolidation potential. Geotechnical reports are foundational documents that drive safe foundation design. Using an outdated report, or skipping one entirely, is a documented cause of project failure on difficult sites.
Pre-construction site survey work covers three areas that non-specialists often underestimate:
- Boundary and topographic survey: Establishes legal property lines and existing elevation data. Topographic maps guide earthworks and final grading to meet design requirements.
- Utility easement mapping: Identifies underground services including gas, water, sewer, electrical, and telecom. Hitting an unmarked line mid-excavation is both dangerous and expensive.
- Environmental desktop review: Flags potential contamination, wetland buffers, or protected vegetation that triggers additional permitting requirements.
Permitting in Alberta follows a defined sequence. Building permits, grading permits, and any environmental approvals must align with your construction schedule. In Edmonton specifically, grading permits often carry inspection hold points tied to compaction reports. Applying too late adds weeks to your schedule. Apply concurrently with design development.
Pro Tip: Request a utility locate (Alberta One-Call) at least 10 business days before your scheduled groundbreaking. In dense urban sites, allocate additional time for secondary private utility locates not covered by the standard process.
Regional climate is a genuine design input, not just a note in the margin. Frost depths in Edmonton average 1.2 to 1.5 meters. Foundation excavations and utility trenches must account for this, and soil compaction work scheduled in late fall faces real risk of moisture freezing before density targets are met.
Construction site clearing best practices
With regulatory groundwork complete, physical site work begins with construction site clearing. This phase is more technical than it looks.
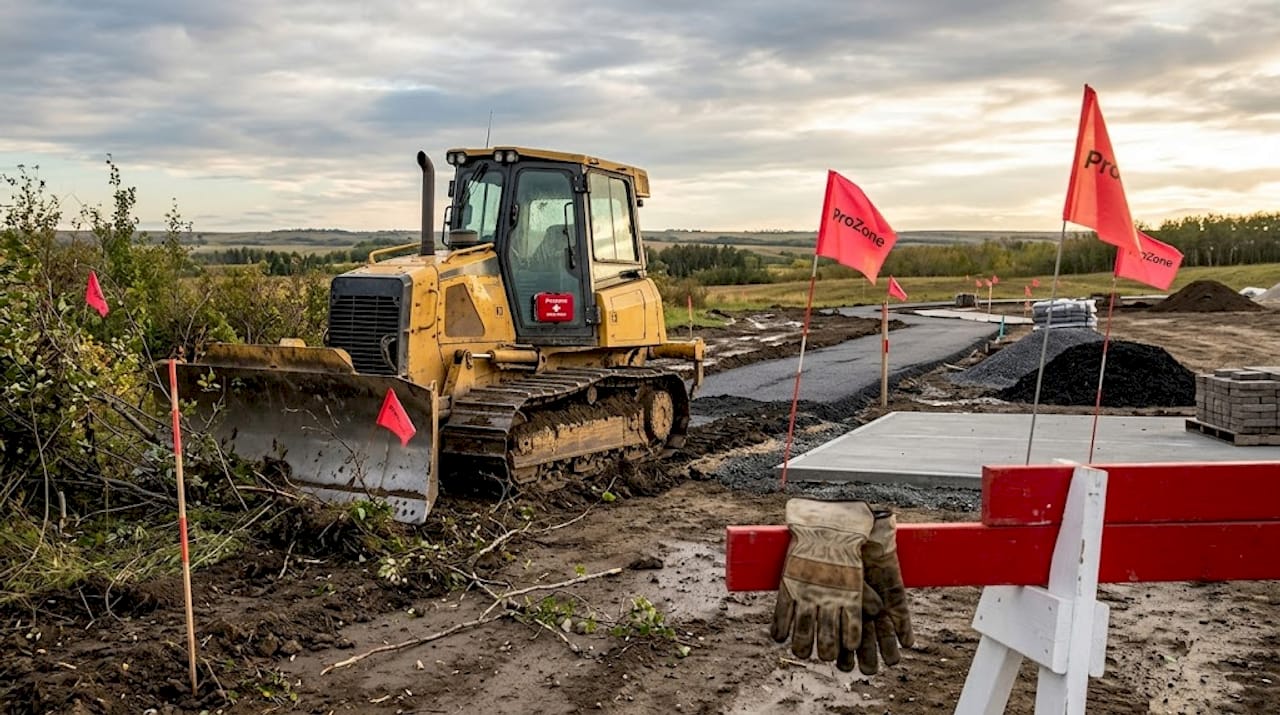
Site clearing is more than debris removal. It creates a buildable platform and reduces worker hazards by eliminating shrubs, roots, rocks, and unstable surface materials. A clearing scope that misses root masses below grade will cause differential settlement in fill areas months after the build is complete.
The clearing sequence follows a clear order:
- Remove above-ground vegetation: trees, shrubs, and brush. Large trees require a certified arborist assessment if close to property boundaries or protected species lists apply.
- Grub all root masses to a minimum of 300 mm below finished subgrade.
- Strip and stockpile topsoil for reuse in final landscaping. Topsoil must be stripped to depths of 150 to 300 mm, as the organic content makes it structurally unsuitable for foundations.
- Remove existing structures, slabs, and underground obstructions per your demolition permit.
- Control dust and erosion from the first day of disturbance.
Statistic callout: Failure to remove topsoil from beneath structural fill is one of the leading causes of differential settlement and foundation cracking in low-rise construction. Stripping to the correct depth is not optional.
Safety during clearing is governed by Alberta Occupational Health and Safety (OHS) Code requirements. All equipment operators need documented competency. Workers on foot must maintain exclusion zones from operating equipment. Temporary fencing and signage protect both workers and the public from hazards created during this phase.
Excavation, earthmoving, and land grading services
This is where the site physically takes the shape the engineer designed. Precision here directly determines foundation performance and long-term drainage behavior.
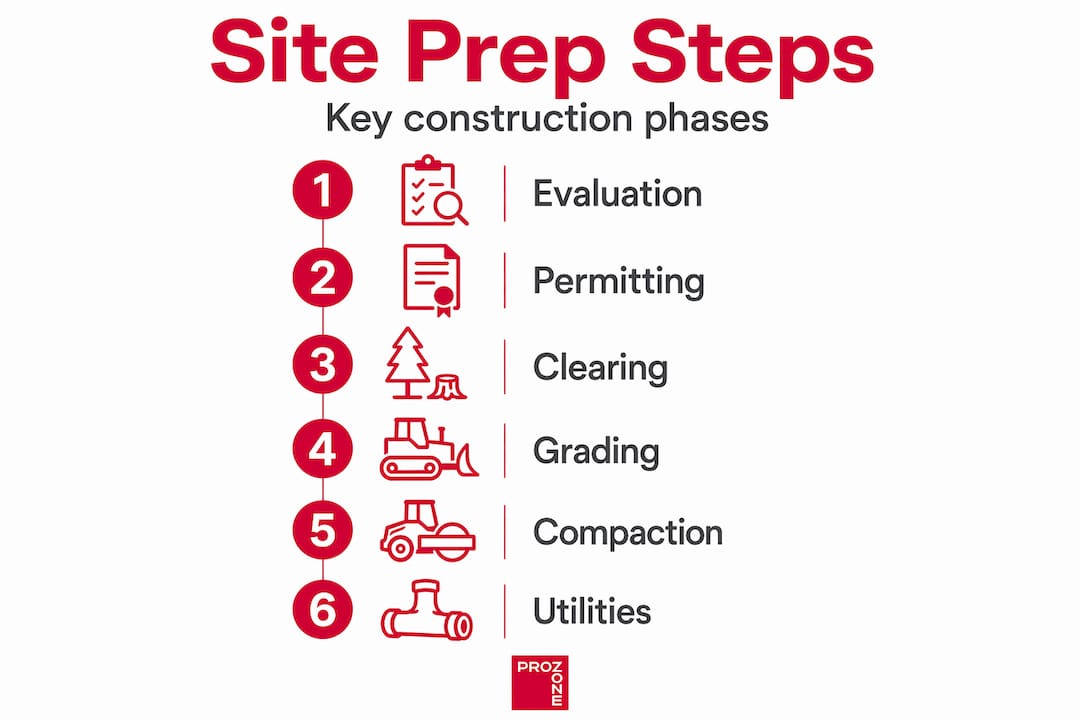
Excavation depth requirements are not arbitrary. Excavation depth is dictated by engineering designs that factor in soil bearing capacity and local freeze-thaw levels. Over-excavation drives up fill and compaction costs. Under-excavation puts structures on soil with insufficient bearing capacity.
The cut and fill process requires disciplined execution:
- Establish design grades using digital layout from the surveyed control network.
- Execute bulk excavation to rough cut levels, maintaining batter slopes or installing shoring per the geotechnical engineer’s recommendations.
- Trim to final subgrade elevation within 25 mm of design, confirmed by laser level or total station.
- Place engineered fill in compacted lifts of 150 to 200 mm (loose), not in large dumped masses.
- Compact each lift before placing the next. Do not bury uncompacted fill.
- Confirm all foundation trenches for footings are cut to design bearing elevation and inspected before forming.
Pro Tip: For Edmonton projects scheduled through October and November, have your geotechnical engineer establish a clear “stop work” moisture and temperature threshold for compaction. Compacting frozen or near-frozen soil produces density readings that do not reflect actual bearing performance once the ground thaws.
Land grading services must produce a minimum 2% slope away from all structures. This is a standard drainage design requirement, not a suggestion. Proper drainage grading prevents water accumulation against foundations, which accelerates freeze-thaw damage in Edmonton’s climate.
| Earthwork task | Key performance indicator | Common failure mode |
|---|---|---|
| Subgrade trim | Within 25 mm of design elevation | Over-excavation causing excess fill |
| Fill placement | 150-200 mm lifts, uniform thickness | Thick uncompacted lifts |
| Foundation trench | Bearing elevation confirmed by engineer | Soft spots left in bearing zone |
| Final grade | Minimum 2% away from structure | Ponding adjacent to building |
Soil compaction methods and quality control
Compaction is where the ground preparation process gets its structural integrity. And it is where the most consequential errors occur on sites that skip proper testing protocols.
The accepted standard for relative compaction on most commercial and municipal projects is 95 to 98% Standard Proctor density, placed in lifts of 6 to 12 inches. Selecting the correct Proctor standard matters: Standard vs. Modified Proctor selection significantly impacts compaction targets and acceptance criteria, and misapplying the reference test leads to either under-compaction or unnecessary rework.
Moisture conditioning is the factor contractors most frequently underestimate:
- Moisture content for compaction must fall within +1% to -2% of the optimum moisture content established in the lab.
- Soil that is too dry will not compact to density even with heavy equipment passes.
- Soil that is too wet will pump and displace under load rather than densify.
- Conditioning requires adding water and allowing absorption time, or aerating wet soils before compaction begins.
Testing frequency and documentation follow specific requirements:
| Test parameter | Frequency | Instrument |
|---|---|---|
| Density and moisture | Every 500 to 1,000 sq ft per lift | Nuclear density gauge |
| Reference Proctor | Per soil type change | Lab compaction test |
| Compaction report | Each compacted zone | Geotechnical engineer’s report |
Compaction testing is mandatory for building code compliance. Skipping it leads to permit rejections, penalties, and in some cases, structural remediation after construction. The geotechnical engineer of record holds the inspection authority and must be engaged with the construction schedule, not called in after the fact.
Pro Tip: Use a crushed gravel base as a working platform under footings when native soils are marginal. Properly graded road crush provides a stable, testable bearing layer and simplifies achieving density targets compared to reworking native clay soils.
Utility installation and erosion control
The final pre-construction phase integrates underground services and establishes environmental controls that protect the site and the surrounding area.
Underground utility installation follows a defined sequence to avoid conflict and repeated excavation:
- Storm sewer and sanitary sewer are installed first, as they control grade and require the deepest trenches.
- Water mains are placed next, with required horizontal and vertical separation from sewer lines per Alberta standards.
- Electrical conduit and telecom duct banks follow.
- All trench backfill must meet compaction specifications. Poorly compacted utility trenches are a leading cause of pavement failures and surface settlement after project completion.
Drainage design for the site integrates with utility work. Swales, catch basins, French drains, and outlet structures should be established early to manage runoff from the disturbed area. A site with no drainage path during construction will generate sediment transport that requires regulatory response.
Erosion and sediment control is not a task for the end of site preparation. BMPs such as sediment traps, perimeter dikes, and silt fences must be installed before ground disturbance and maintained throughout the project. Inspections are required at a minimum every 7 days and within 24 hours after any significant rainfall event.
Statistic callout: Erosion control measures must be phased and integrated early in construction. Reactive installation after sediment has already left the site results in regulatory notices and remediation costs that are far higher than proactive BMP installation.
Final grading verification closes the site preparation for construction sequence. Field verification follows a strict quality assurance sequence: surveying, clearing, excavation, groundwater control, compaction in lifts, and a documented pre-pour inspection with official sign-offs. As-built surveys confirm that actual grades match the design before any concrete placement begins.
My perspective on what actually goes wrong on site
I have reviewed enough grading reports and walked enough sites post-failure to say this plainly: most site preparation problems are not technical mysteries. They are scheduling decisions made under time pressure that seem reasonable until the frost heaves in spring or the inspector pulls the permit.
The most common pattern I see is this: compaction testing gets pushed to the end of a phase rather than integrated lift by lift. By the time the geotechnical engineer arrives, there are three meters of fill that cannot be verified without invasive investigation. Scheduling testing early with the geotechnical engineer of record is the single practice that most reliably keeps grading phases on schedule and out of remediation.
Edmonton’s freeze-thaw cycle adds a genuine complication that contractors from other regions underestimate. I have seen compaction work conducted on soils that appeared dry and workable but were within hours of the freezing threshold. The nuclear gauge reads acceptable density. Thaw comes in April, and the subgrade is suddenly 40% weaker than the report indicated.
Proactive planning with certified professionals is not a premium service. It is the baseline for building anything that performs as designed.
— ProZone
Work with Edmonton’s site preparation specialists
ProZone brings certified expertise, Alberta Safety Code compliance, and direct regional experience to every phase of site preparation, from initial earthworks through final grading verification. If your project is in Edmonton or the surrounding region, ProZone’s crews understand freeze-thaw soil behavior, local permitting timelines, and the compaction standards that inspectors actually enforce.
Explore ProZone’s Edmonton construction services to see the full scope of capabilities available for your next project, including excavation, grading, utility preparation, and erosion control. For project managers who want a detailed estimate based on real site conditions, contact ProZone directly through the online form or by phone. A step-by-step project plan starts with a conversation, and ProZone makes that conversation fast and specific to your site.
FAQ
What does site preparation for construction include?
Site preparation typically includes soil testing, surveying, permitting, construction site clearing, topsoil stripping, bulk excavation, compaction in lifts, utility installation, and a documented pre-pour inspection. Each phase must be completed in sequence to meet engineering and permitting requirements.
How deep does excavation need to go in Edmonton?
Excavation depth is driven by foundation design, soil bearing capacity, and frost depth requirements. In Edmonton, frost depths average 1.2 to 1.5 meters, so foundations must be designed and excavated below this level to prevent frost heave damage.
What compaction standard applies to construction fill?
Most commercial projects require 95 to 98% Standard Proctor density, verified by a nuclear density gauge at intervals of every 500 to 1,000 square feet per lift. The geotechnical engineer of record specifies the applicable Proctor standard based on soil type and structural loading.
When should erosion controls be installed?
Erosion and sediment control BMPs must be in place before ground disturbance begins, not after. Inspections are required at least every 7 days and within 24 hours following significant rainfall to maintain regulatory compliance.
What is a pre-pour inspection?
A pre-pour inspection is a formal hold point conducted by the structural and geotechnical engineers before any concrete is placed. It confirms that subgrade preparation, bearing elevations, and compaction documentation all meet the engineered design specifications.